English
 Español
 简体中文
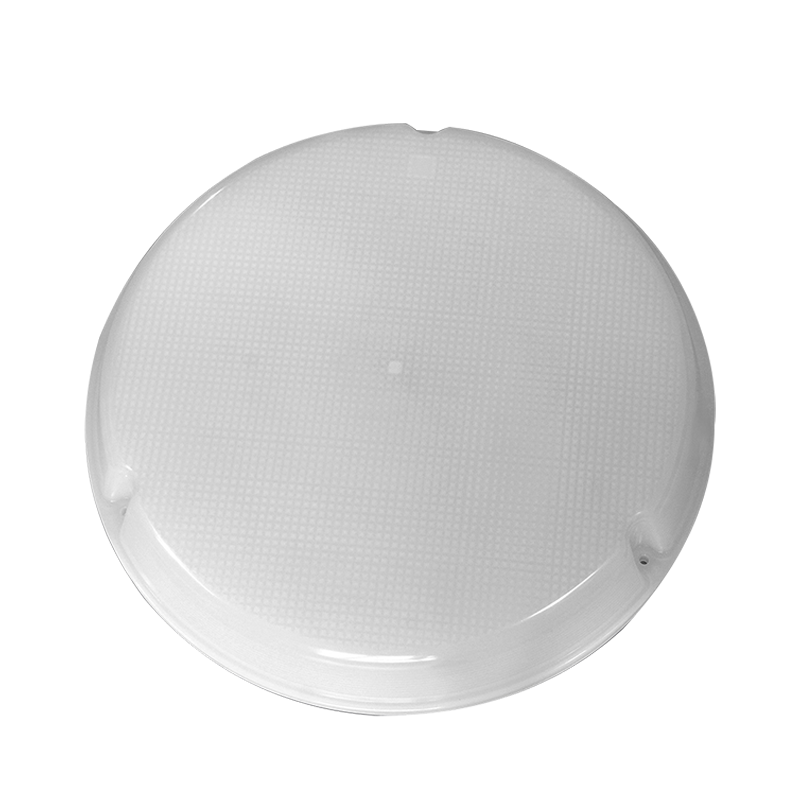
简体中文Designing a plastic lighting lampshade for injection molding involves several considerations. Here's a step-by-step guide to help you with the design process:
Understand the Requirements: Determine the specific requirements for the lampshade, such as the size, shape, style, and functionality. Consider factors like the type of lighting source (bulb or LED), heat dissipation requirements, and any specific aesthetic or functional features.
Material Selection: Choose a suitable plastic material for injection molding. Consider factors such as heat resistance, light transmission properties, durability, and cost. Common materials for lampshades include polycarbonate, acrylic, and polypropylene.
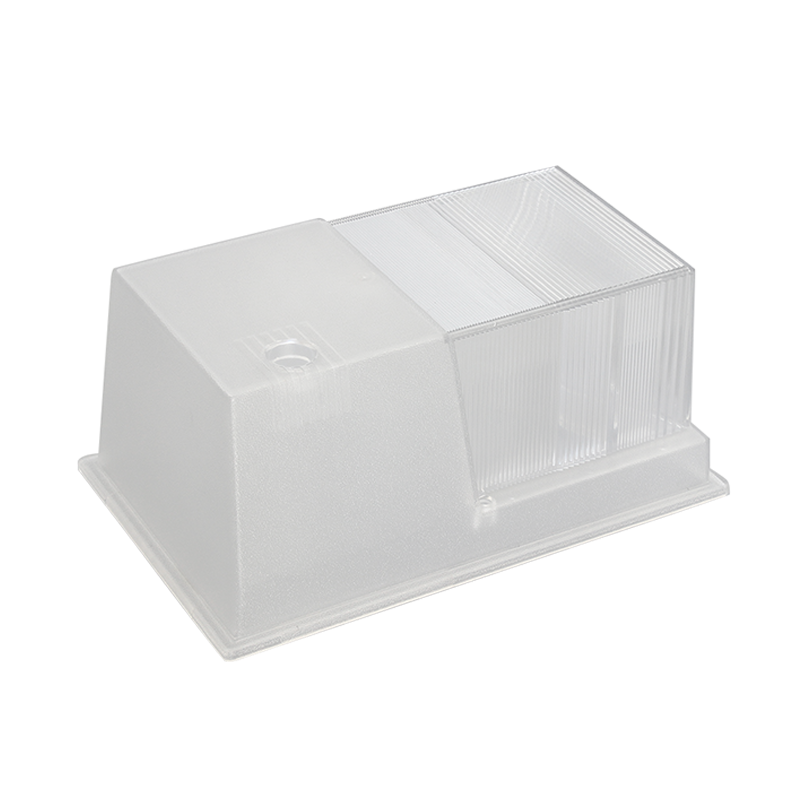
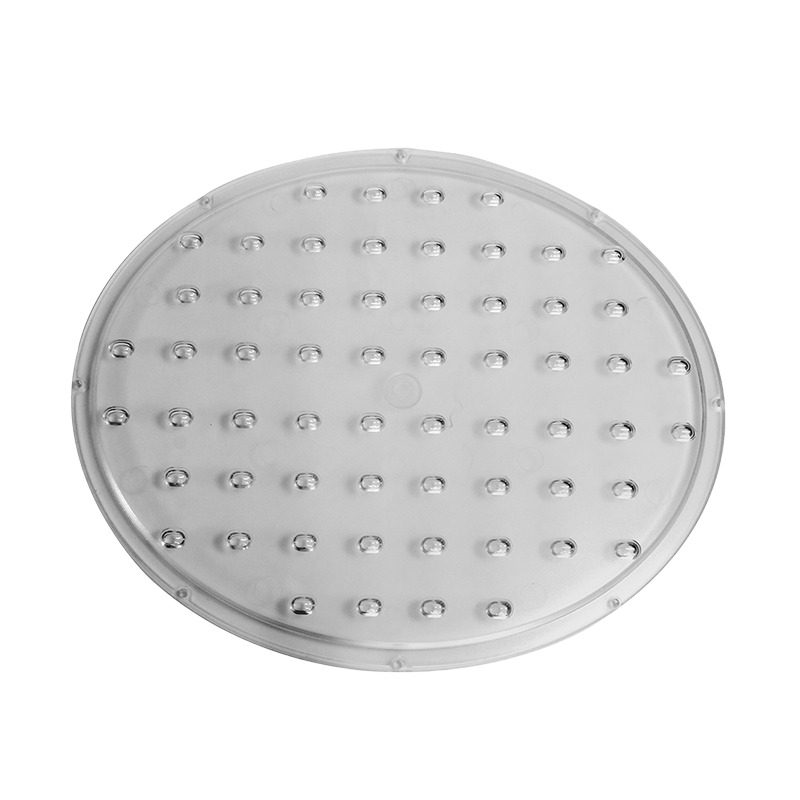
Design the Shape: Create a 3D model of the lampshade using computer-aided design (CAD) software. Pay attention to the overall shape, size, thickness, and structural integrity. Ensure that the design allows for proper light distribution and diffusion.
Wall Thickness: Maintain uniform wall thickness throughout the lampshade to ensure proper molding and avoid issues like sink marks or warping. Generally, a wall thickness of 2-4mm is suitable for most lampshade designs.
Ribs and Supports: Add ribs or supports to strengthen the lampshade and prevent deformation during the injection molding process. These features improve the structural integrity of the final product.
Draft Angles: Incorporate draft angles on the vertical surfaces of the lampshade to facilitate easy ejection from the mold. A draft angle of 1-3 degrees is typically sufficient.
Gate Placement: Determine the gate placement for injecting the molten plastic into the mold. Ideally, position the gate in an inconspicuous location on the lampshade to minimize any visible marks.
Texture and Aesthetics: Consider adding textures or patterns to the surface of the lampshade to enhance its visual appeal. These can be incorporated directly into the mold or added later through secondary processes.
Venting: Include adequate venting in the mold design to allow for the escape of air and gases during the injection molding process. Insufficient venting can lead to defects like trapped air bubbles or burning marks on the surface.
Mold Design: Collaborate with a professional mold designer to create an appropriate mold for your lampshade. Consider factors like the number of cavities, the type of mold (single-cavity or multi-cavity), and the selection of appropriate ejector pins and cooling channels.
Testing and Iteration: Once the mold is manufactured, test it by injecting molten plastic to produce sample lampshades. Evaluate the samples for any design flaws, such as warping, sink marks, or inadequate light distribution. Make any necessary design modifications and repeat the testing until a satisfactory result is achieved.
Production: Once the design is finalized and the mold is approved, proceed with mass production of the lampshades through injection molding. Monitor the production process to ensure consistent quality and address any issues that may arise.